Wednesday, July 23, 2014

OneDrive for Business - Setup and Implementation for SharePoint 2013

Step - 1

Download the OneDrive for business from Microsoft site http://support.microsoft.com/kb/2903984

Based on your requirement you can download any client as shown in the below figure.


Step - 2

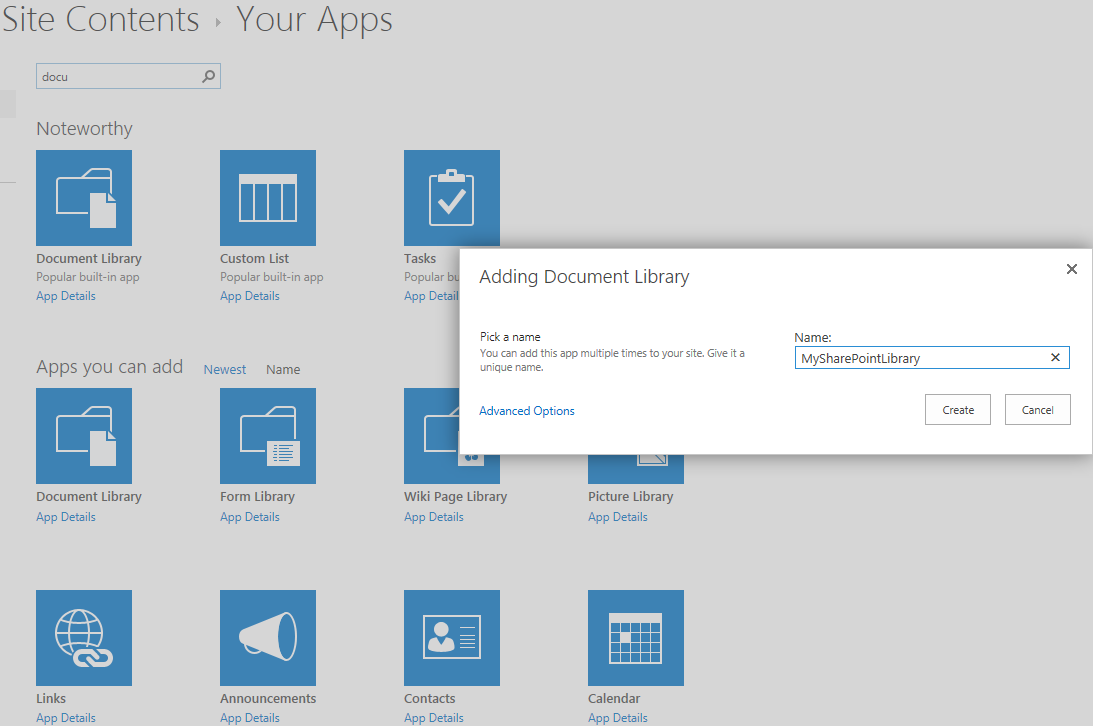
Before installation, let us create a custom document library for our demonstration and testing purpose. We will use this document library to upload and sync the documents. Name is as "MySharePointLibrary" as shown in below figure.


Step - 3

Now upload a document by just drag and drop from your windows explorer.

Step - 4 

Install the OneDrive now, which you have downloaded in step 1
During the installation, the wizard have to provide the document library which you want to download to local machine and sync.


Optionally you can also change the path of the local directory.

Installation and Sync in progress


That is it.

Step - 5 

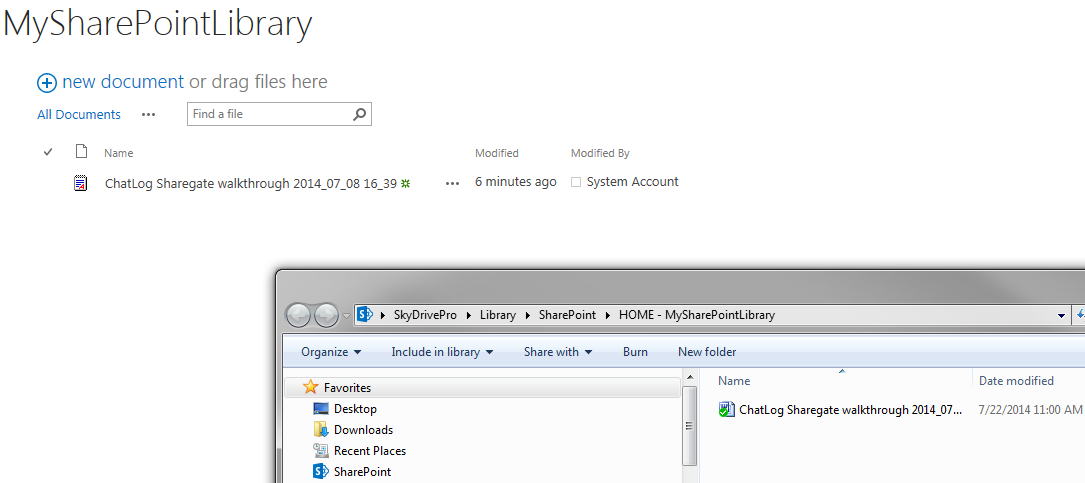
Testing. Go to your local directory which you have configured during the installation and you can see the document which is actually downloaded to local machine during the sync process. 


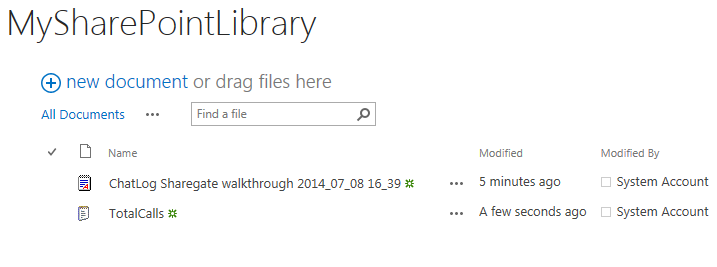
Now add a new document (txt file) to the local directory


Now right click on the OneDrive (in the tray)  and press "Sync now" context menu.


Now the new file will appear in the SharePoint document library as shown below


Now I am going to delete as shown below from SharePoint


NB, this time I am going to use the Sync from SharePoint as shown in the below figure (see the top right corner)


This will delete the local copy and the final result is as shown below


Step - 6

Additional Information : OneDrive is free and have some limitations and see the below Information for Plans and features


Friday, July 11, 2014

SharePoint 2013 Designer Workflow - Expense claims approval process part 1 of 3

List of Article in Series

1. Overview of Business requirement
3. Deployment and Testing

Overview of Business requirement

Employees upload their Expense Claims document in the document library with metadata such as Expense amount, Title etc. The below is the flow chart of the business process and read the rules logic in the process carefully.


We can develop the workflow solution either in Visual studio project or SharePoint Designer (SPD) tool. Since the logic is not complex and SPD 2013 is so matured and comes with many handy actions, we are going to develop in SharePoint 2013.

Please wait for the part 2 of 3 article, I will publish is shortly.

Wednesday, July 9, 2014

SharePoint 2013 BI & SSRS Useful links

SharePoint 2013 BI - Business Intelligence - EPC Group.net

http://www.youtube.com/watch?v=9ZaImjFdYwI

BI Tools: Reporting Services (SSRS) in SharePoint (Tutorial)

http://www.youtube.com/watch?v=mMEIx3S4gqs

Good SSRS Report development with Grouping (parent and child level group), Parameter , Currency format, Header text formats and Deployment (using visual studio)

http://www.youtube.com/watch?v=hjcf8F-b3Iw

Drillthrough and drilldown

Document Maps Lable (Bookmark)

Tuesday, July 8, 2014

The search request was unable to connect to the Search Service.

Getting user preference failed: Microsoft.Office.Server.Search.Query.SearchServiceNotFoundException: The search request was unable to connect to the Search Service.


Cause : The search service application proxy is responsible for the communication between the search webpart and the search service application. Also the proxy application may be corrupted.

Resolution :  If you already have a search service application proxy, then delete it. Now run the below command to create a new proxy

$searchServApp = Get-SPEnterpriseSearchServiceApplication
New-SPEnterpriseSearchServiceApplicationProxy -SearchApplication $searchServApp